Jacqui Hall - City Planning
Week 5/6
Making models at home - folding techniques
This week we used our bedrooms as inspiration to begin making models out of paper and cardboard.
My first model is made out of card and is at scale 1:10. I found 1:10 scale hard to work with as my room is originally very small.
 |
| North facing windows and glass door to outside |
 |
| Southern wall and entrance to room |
My second model I used thin cardboard. I sourced this from an old wall calendar I found. I chose a scale of 1:5 instead to make it easier to construction as well as more visually useful.
 |
| Room entrance (door) and Southern facing wall |
 |
| Northern facing windows and glass door to outside |
Next, I watched the fold techniques videos. And attempted a few. I was harder than it looks!
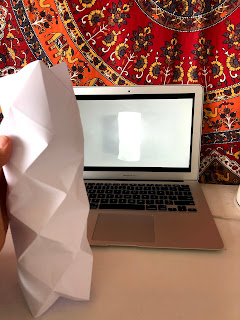 |
| 'X-form spans' technique |
 |
| 'V-pleats' technique |
Now, I attempted to incorporate these techniques into my model. I chose to expand ideas based-off my second model as I was happy with its size and look achieved from using thin cardboard.
Despite my lack of model making skills I attempted to make my ideas come to life...sort of. Google images help you understand. This model is an extended version of my room if money did not matter. It is a place that I imagine for my room, with limited affiliation to the rest of the design of my house. It is created to make an impact, where a vistor will enter and think "wow". The north facing side (which originally includes windows and a glass door leading to a small patio) are, in the model, a single sliding glass door that opens onto a large staircase. The stairs are like those in the Red Centre at UNSW, can be used functionally (as stairs) but as also for seating, to create a sense of space. These lead to an enclosed courtyard like setting that is below my rooms level. This is ideal as my room faces north east - great sun exposure. I rarely need a heater during winter if I ensure my door is kept closed to obtain the heat.
The 'x-form spans' folding acts as a feature wall that could perhaps hold plants in a funky design way whilst also positively impacting the space e.g. cooling effect.
 |
| Source: Pinterest |
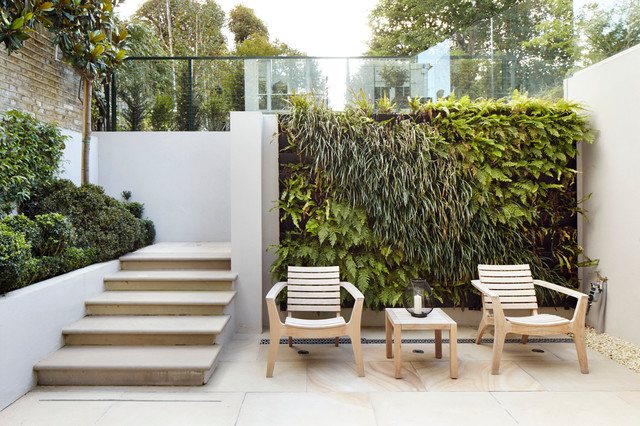 |
| Inspiration. Source: Houzz |
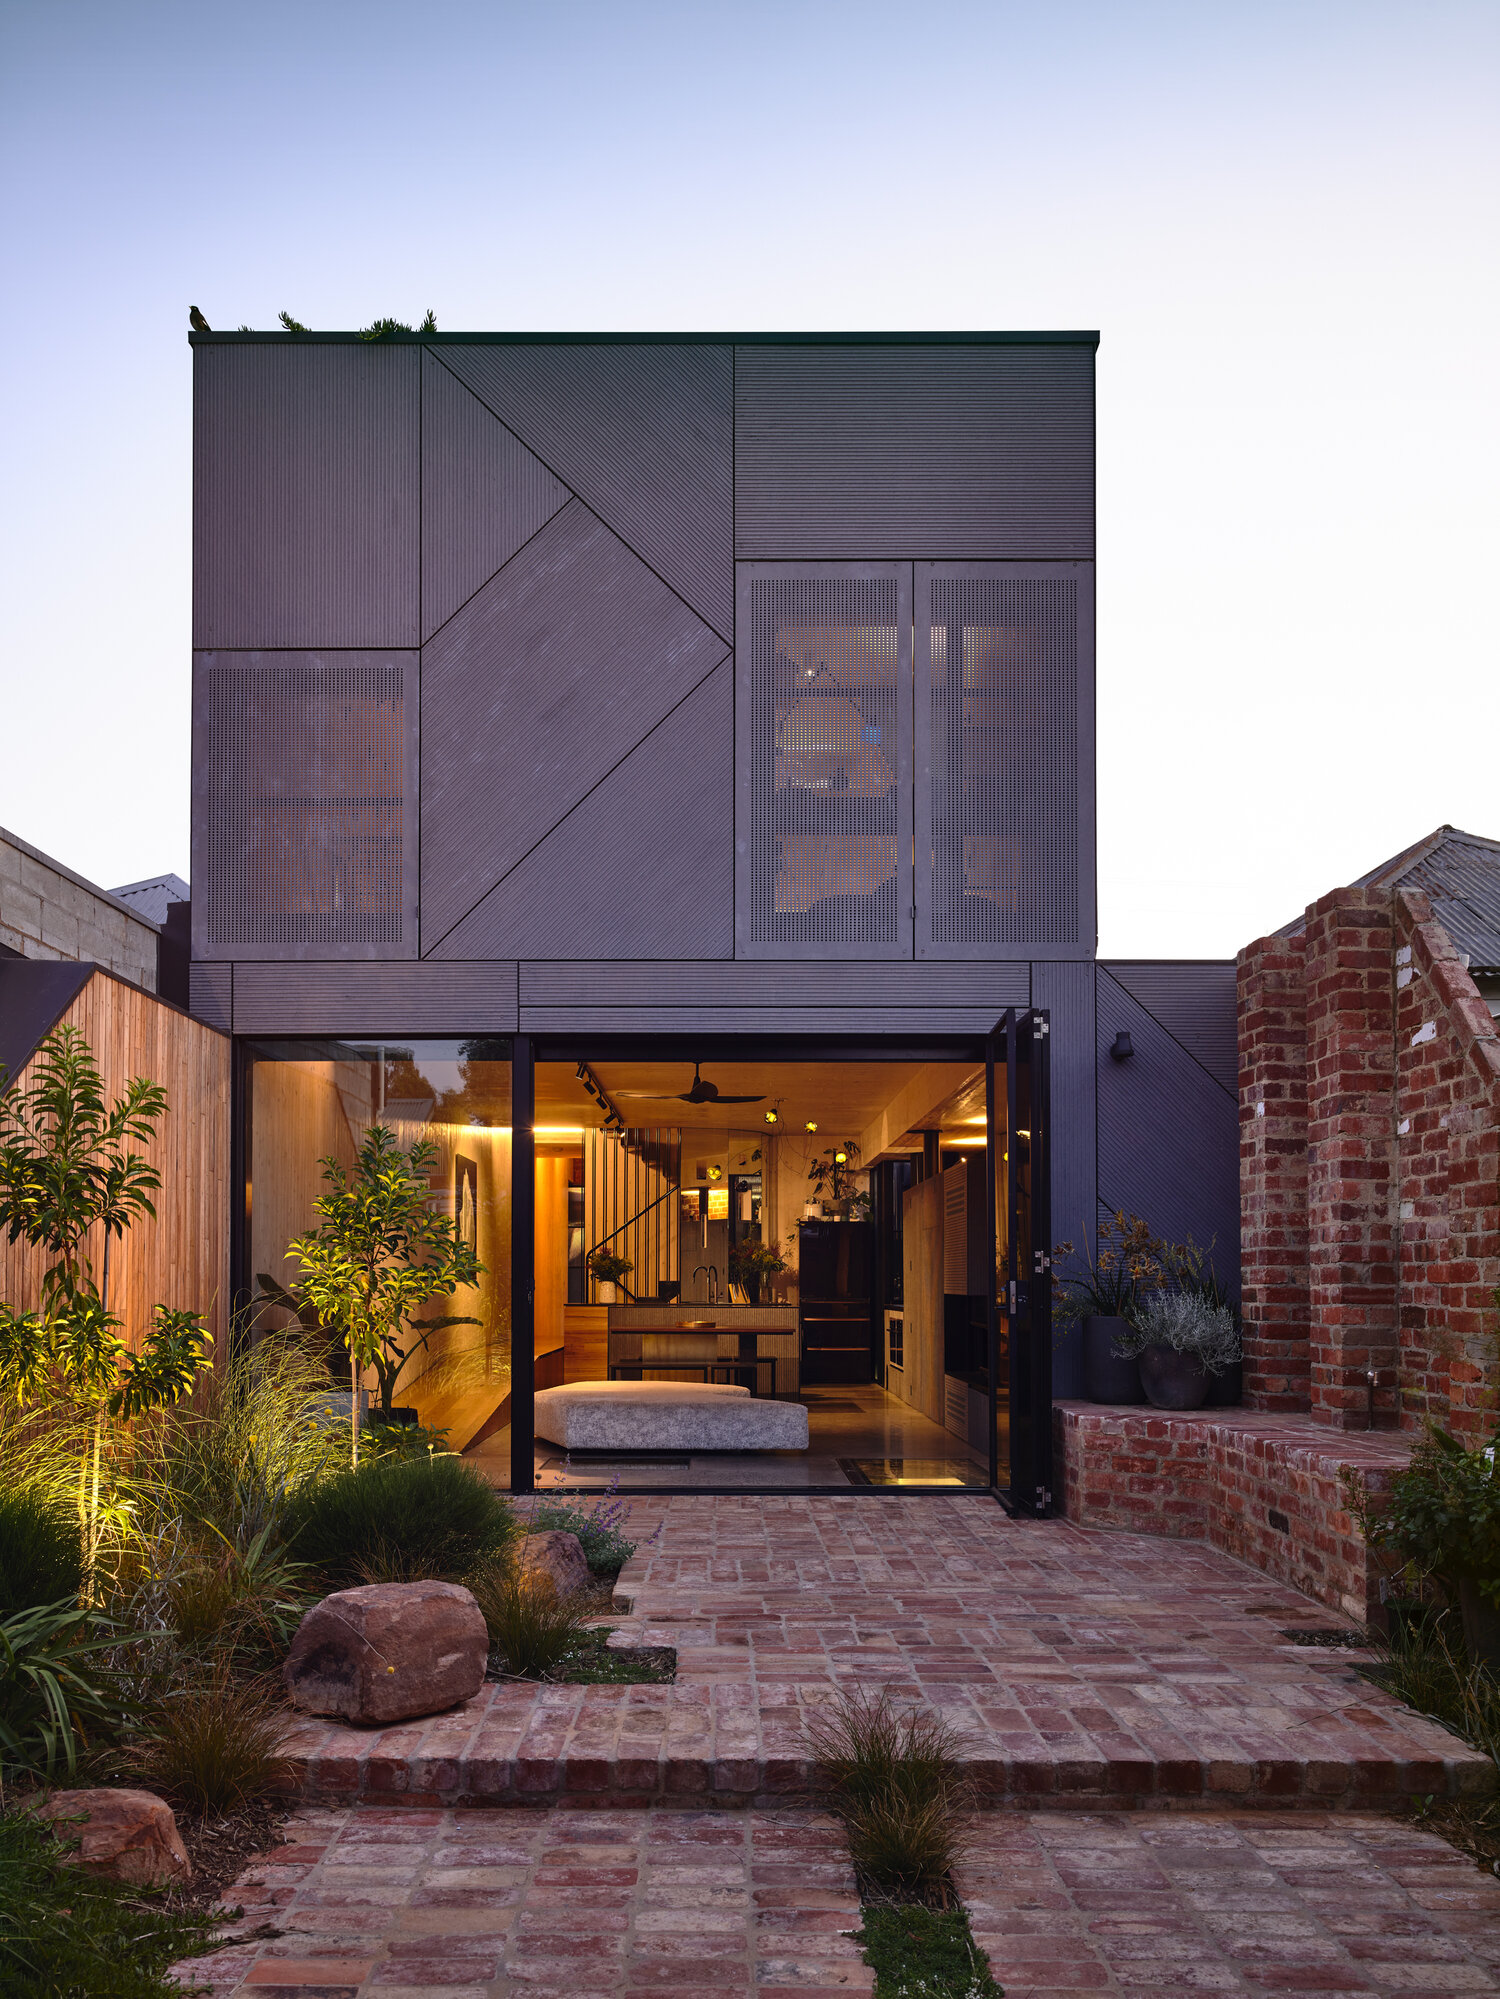 |
| Inspiration. Source: Pinterest |
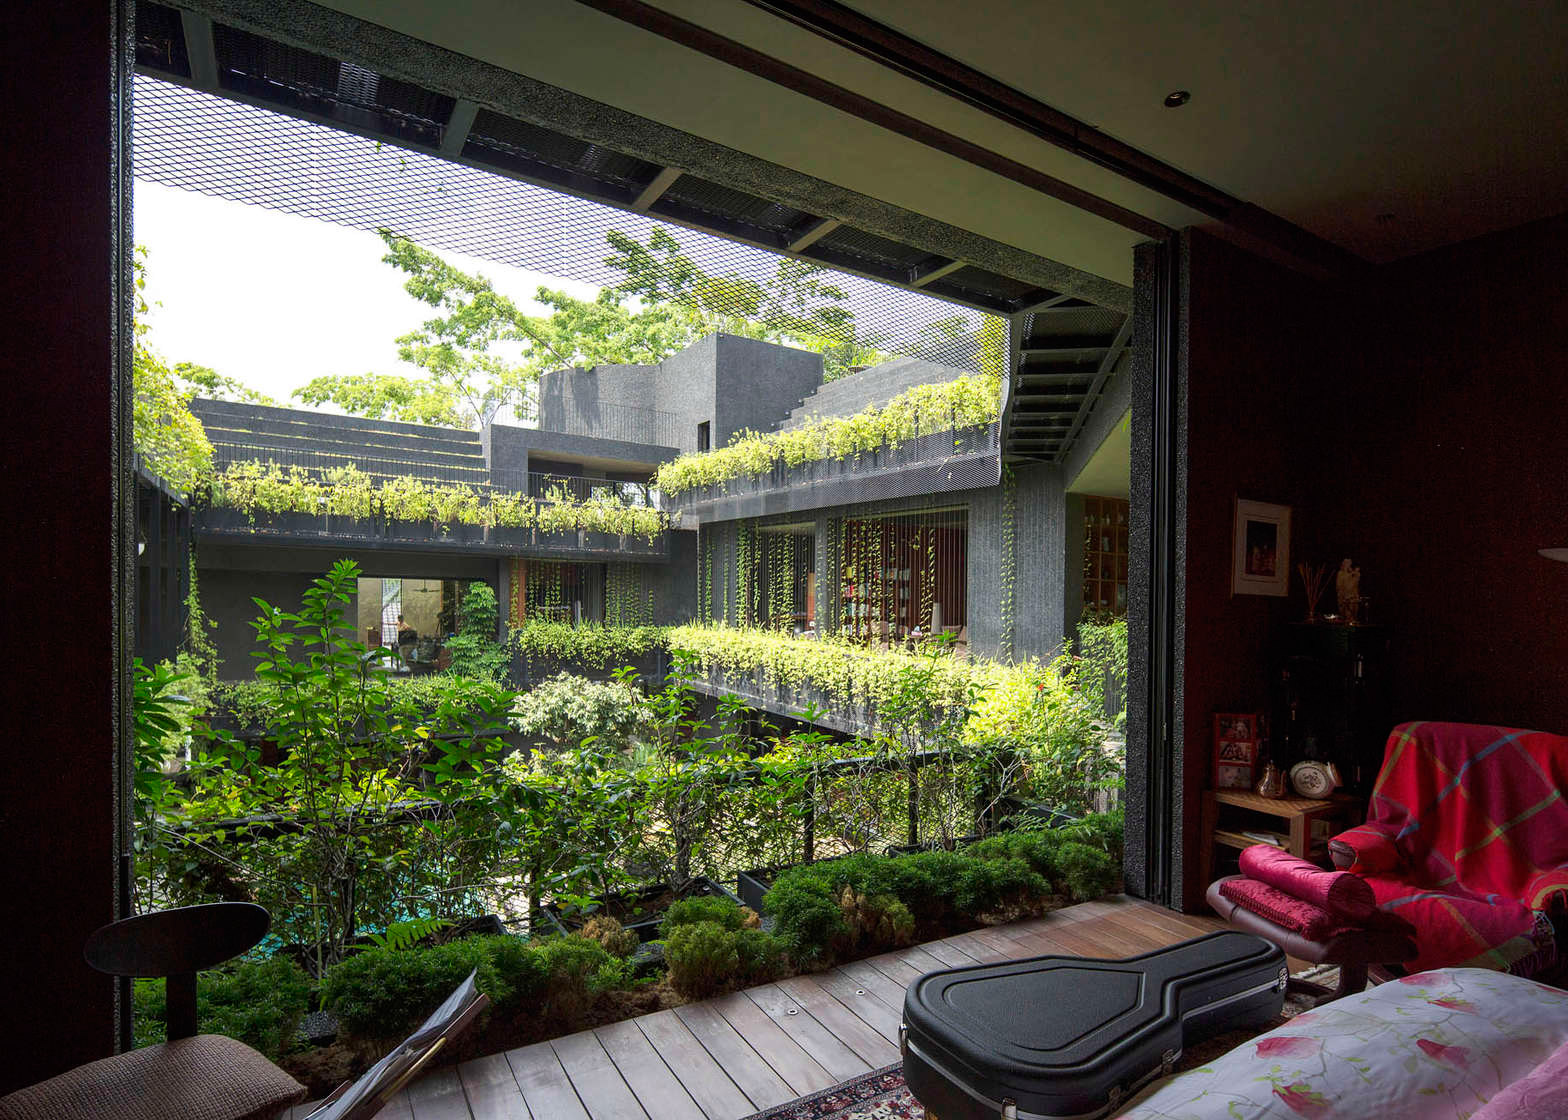 |
| Inspiration. Source: Dezeen. |
The roof of my room could be used as a garden. Using the basis of the 'V pleats' folding technique, , it could be designed to catch water through the folds and funnel this to watertank which can then feed back to irrigate the garden. This design is aimed at reducing the heat that solid concrete and other surfaces often characterised by the built environment often emit - contributing to the urban heat island effect, especially in inner city areas. It is important to consider the built environment's impact on the natural environment increased temperatures further disrupt climates and flows of original habitats.
.
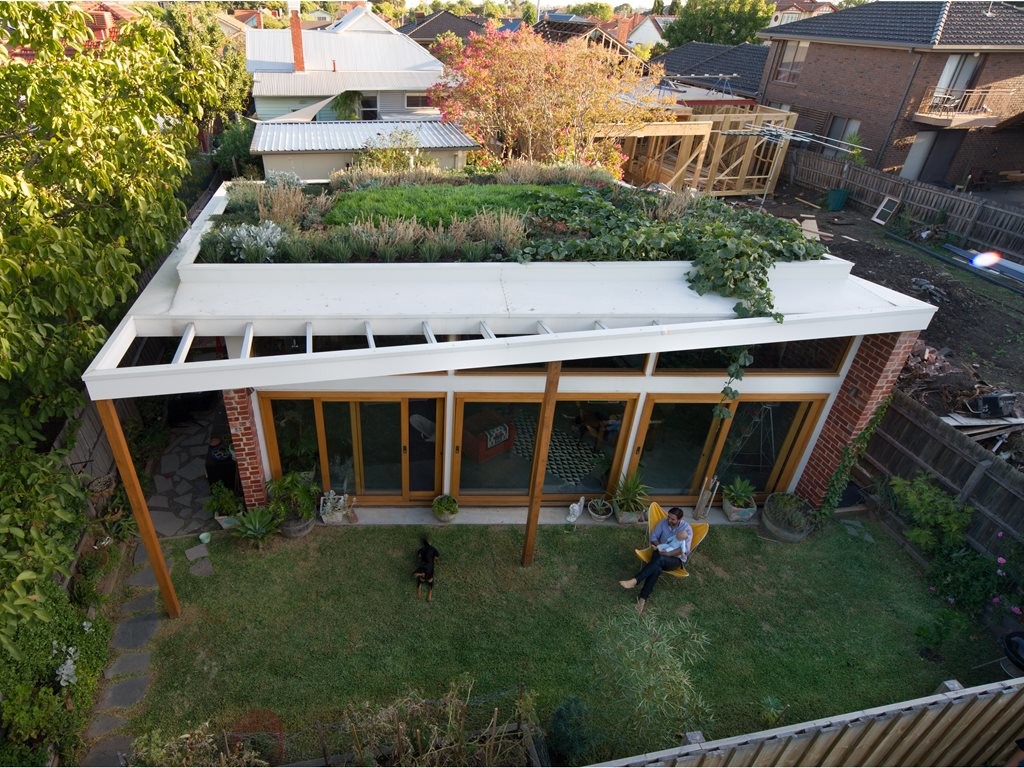 |
| Inspiration. Source: Architecture and Design |
 |
| The folds mimic the pattern the plants could be planted. This is from a visual design point but perhaps functionality i.e. drainage and irrigation technique. |
The idea that my room is a different space, almost acting as its own little world apart from the design of rest of my house is special. I’ve always loved visiting IKEA and I think what they do is great; having room-like spaces using differing concepts. It is great for creating design ideas for their customers.
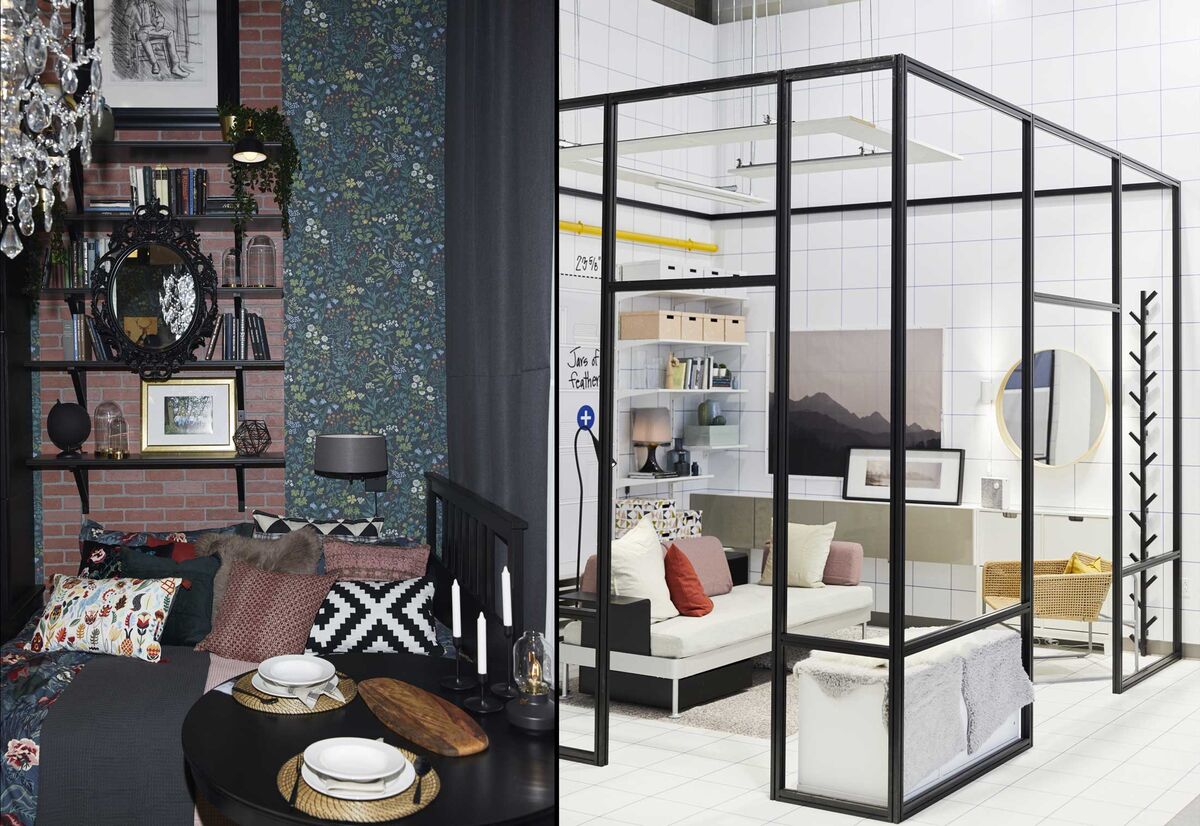 |
I love IKEA's showroom concept, at each turn there is a new design concept/spaceFusion 360 activity
The digital model represents 3 prisms:
- my bedroom - the connecting hallway (see internal wall) - the landing of the stairway on the top storey of my house. |
Week 7
 |
| Fusion 360, my initials (back view) |
 |
| Fusion 360, my initials (front view) |
Model 1: iterative model with an addition source of light at a new scale
I chose a new scale of 1:50 for model 1. I decided to incorporate both paper and cardboard as I thought different using materials of malleability suited their functions in the model. In the end I realised this scale was hard to work with when it came to creating human figures as it was very fiddly!
The roof of model 1 incorporated the 'V-pleats' folding technique. I attempted to portray that the grooves function as a drainage system - that would drain to a watertank at the back of the room. The high points provide space for plants - blending the space into the natural environment + reducing urban heat island effects.
The 'x-form spans' folding technique on the left act as a geometrical curved wall with cut outs to mimic windows, creating a feel for space and allowing shadows when internal lights are on. The room and floor of this extension are glass, making the space feel larger.
The stair case from the room to the courtyard is deep, functioning as a seat as well as a stairs. The aspect my room faces north, thus I designed the model with this in mind, supporting the use of the area for functions listed above.
Light sources used in photographs:
- indirect source = sunlight
- direct source = torch
The following photos use different lighting to provide a different perception of space (my environment was made dark):
- indirect light source (positioned a few metres away) = warm lamp
- direct = torch a This provided a different perception of the space:
 |
| Internal light creates a glow in the courtyard below |
 |
| Direct light source mimics an outdoor light |
 |
| The light positioning shows how design of roof and left wall changes the feel of the space |
Model 2: Fusion 360 model in paper
Using tongue and fold technique.
The bottom floor represents my bedroom and the adjoining hall way. The top floor is the top of the landing of a stair case.
WEEK 8
Fusion 360
After watching the online tutorials I attempted rendering my initials in Fusion 360 using different material combinations.
Version 1
In this version I chose glass and oak to render my JCH initials. With the glass I changed the properties to be more blue and less reflective (more rough). As the external environment selected was a 'sunny field' it was very bright and reflected onto glass.
I chose these combinations as it represents my simplistic style . I think glass changes a space a lot whether it make it seem larger or adds something different. This was especially cool on fusion as you can change alter the materials however you want. The oak is a calming neutral colour that is smooth and further complements the design, allowing the glass to stand out.
Version 2
This is a somewhat inverted version of V1. I swapped the glass and oak and made the glass more rough and more clear/white in colour, representing more of a window as the oak frames it. Again it represents my simplistic style that is pleasing and realistic. I increased the 'roughness' of the glass to reduce the reflection of external environment. My favourite part is the curve the 'C' makes, using glass on this face really emphasises it and makes the structure interesting.
Version 3
In this version I decided to experiment with the different materials on the program. Using copper mesh/wire on top, mirrors for the 'C' curve and green/white Jade for body create, an eye catching combination was created. I made the mirror very reflective so to reflect the external environment. The copper wire adds an industrial feel to the structure and the jade makes it seems like a sculpture. The combination of white and green really complements the weird glass curve. It was fun to experiment out of my comfort zone!

Photoshop
After using photoshop for the first time back in week 1, I was interested to see how I would go this week...
I spent time attempting to photoshop materials onto my model. Ideally I would have liked to do a combinations of materials on each of my attempts but it just wasn't possible given my skill set and time. However, overall I'm satisfied with the effort I put in and the skills I learnt/attempted during this week.
I chose 'weathered' wooden cladding for the front facade, a deep copper material to frame the roof top garden and a more warmer toned wood for stairs and also tried to incorporate pillows to show the functionality of the stair case for seating as well as a passage between the two indoor/outdoor spaces.
 |
| With stairs |
 |
| Matching the cladding to the grasses saturation |
 |
| Attempting to fit into virtual background. |
I chose this background as I thought it were a good opportunity to use photoshop to make the model fit into the space. Using luminosity, colours, levels and curves I attempted to make it blend in. I found the photoshop learning channel onYoutube very user-friendly.
The 'materials' I chose were sourced from the internet and www.textures.com (linked on Kate/Russell's blog post).
Week 9
This week I prepared my submission for week 10. I wrote the 100 word statement, started the powerpoint presentation, chose the photographs of my best 5 models and tidied up my blog.
Week 10
See youtube link -
https://youtu.be/wnQ9TCBGMr4
I had some trouble uploading this as my internet was poor, please see my moodle submission for the higher quality presentation.
Curated blog submission
10 best process images:
 |
| Week 5 17/3/20. This image shows the first two models created, working with different materials and scales. |
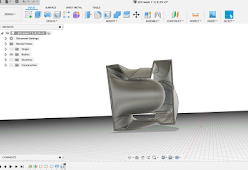 |
| Week 7 29/3/20. This is a screen capture of the back of my 'JCH' stylised initials. Having free range to design the shapes as well as learning to how angles allow/don't allow a loft to be created. |
 |
| Week 7 27/3/20. This image shows a collage of ideas for my models - the ideas of simplistic and functional design using wood and natural surfaces as well as courtyard inspiration, |
 |
| Week 8 7/4/20. Incorporating materials onto my fusion 360 initials - using wood and glass for a simple design. |
 |
| Week 8/9 12/4/20. Using photoshop to add materials to my 'renovated' model. Here I attempted to use simple wooden slats to act as cladding and plants for the roof. |
 |
Week 7 4/4/20. This image gives more perspective view of the model - showing how it sits in a space.
|


